Khadijah Pearce
DIY Kitchen Upgrade: How to Install a Mirrored Backsplash Like a Pro
Do you love a good DIY?! Would you be interested in learning how to add a little razzle dazzle to your kitchen? This mirrored tile backsplash DIY project I did over four years ago is continuing to gain traction on YouTube, so I figured I’d come share the steps on how to recreate the look. In total, this project took me about 3 hours to complete, over the span of 2 days. One thing important to note, this is a permanent look and is not ideal for renters. Read on to learn how to create this look yourself!
First you should prep the surface area where you want to place the tile. It’ll probably be better to do this on a fresh wall where there isn’t existing tile. The adhesive MussleBound will adhere better on a prepped surface, but if you happen to have a surface area where there was existing tile, you’ll be successful if you prep well.
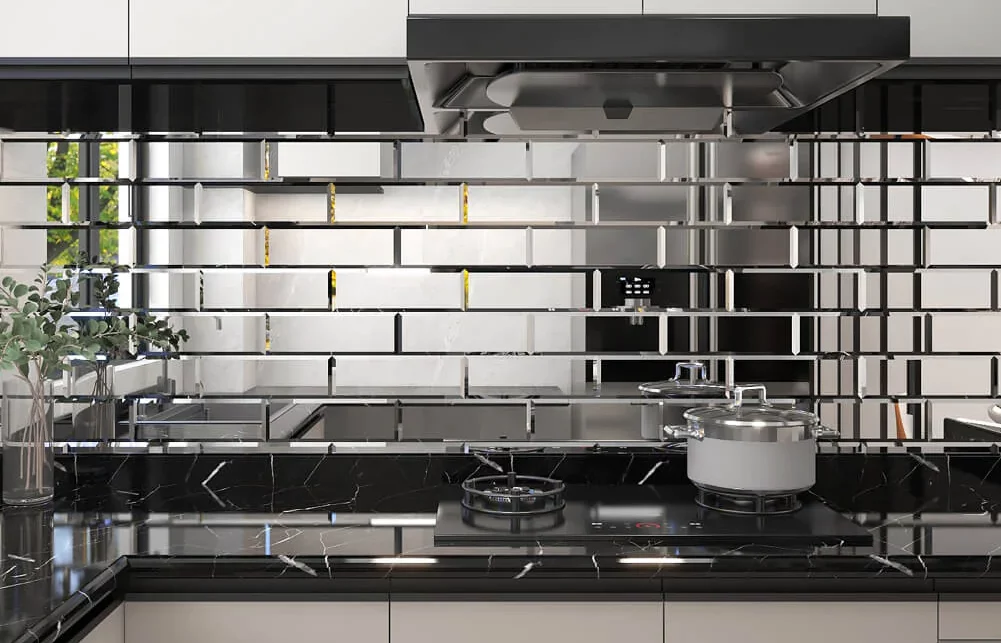
Next, you should decide on tile placement. I purchased my mirrored tiles from Wayfair and decided to go with a staggered brick style. After deciding where and how you want to place your tiles, you’re ready to apply the MussleBound. Please be aware, MussleBound is extremely adhesive. Once it’s up, it’s stuck. Be sure of your placement or you’ll have a mess trying to reposition.
Next was the tile placement! In my opinion, this was the best part because I began to see the project come to life. I personally placed my “whole” tiles first, then finished with the pieces I custom cut. However, if you decided to do this, feel free to measure and cut the custom pieces before you start laying tile if that makes you feel more comfortable. I repeated this step until my wall was complete.
To assist in cutting the tiles, I used the Blue Hawk Tile Cutter. This was a life saver for me! I was able to precisely cut pieces around outlets and edges which created a seamless look. As mentioned in the YouTube video, if you decide to create this look, be sure to wear a protective eye covering and long sleeves. You can really hurt yourself if glass shards get into your eyes or skin.
To finish off, I purchased stainless steel outlet covers. They really pulled the entire look together and made it appear professional. To maintain and keep them clean, I use Windex or Pure-Sky Window Glass Cloths. My kitchen appears bigger due to the mirrored reflection and creates a sparkle when the sun shines in! I’m happy to share that after four years, the backsplash is still hanging strong and there are no issues.
Here is everything you need to achieve this look:
- MussleBound- https://amzn.to/3Xr6EQH
- Mirrored Tile Backsplash (the perfect dupe to the tiles I used)- https://amzn.to/40M4jm5
- Blue Hawk Tile Cutter- https://amzn.to/3YqgSSE
- Stainless Steel Plate Covers- https://amzn.to/3YGpFiY
- Pure-Sky Window Glass Cloths- https://amzn.to/3liV3FN
Disclaimer: Some of the links on this page are affiliate links, meaning, at no additional cost to you, I may earn commission if you click through and make a purchase and/or subscribe. Affiliate commission helps fund blogs like this.
Photo courtesy of Diflart
